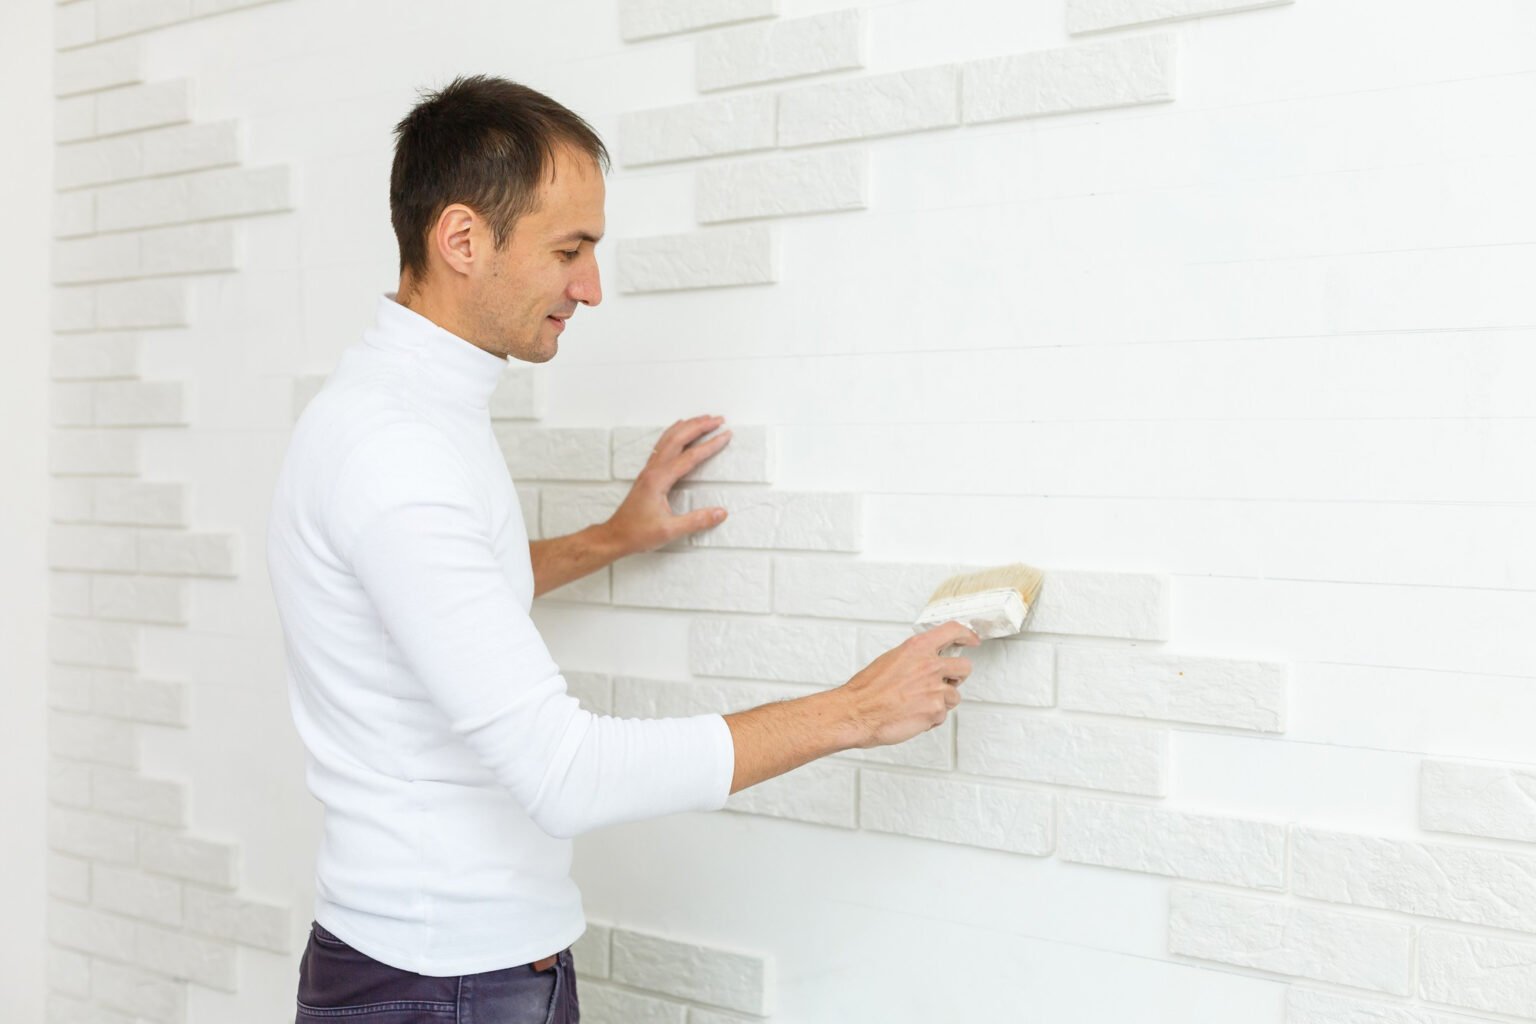
Finishing a backsplash on an open wall is a crucial aspect of kitchen design that enhances both aesthetics and functionality.
Without a proper end finish, the exposed edges of tiles can lead to unsightly gaps and deterioration over time.
By effectively sealing off your backsplash, you not only elevate the look of your kitchen but also protect it from moisture and make cleaning effortless.
Table of Contents
ToggleUnderstanding Backsplash Concepts
What is a Backsplash?
A backsplash is a protective and decorative surface installed behind sinks and countertops, typically made from materials like tiles, glass, or stone. Its primary purpose is to guard walls against spills and splatters while adding a stylistic element to the overall design.
Why Properly Ending a Backsplash is Essential
Properly terminating your backsplash improves aesthetic appeal and serves practical purposes, such as weatherproofing your kitchen surfaces and simplifying maintenance. A tidy finish creates a more polished look, ensuring that all design elements harmonise beautifully.
Preparing for the End Finish
Assessing Your Space
Start by evaluating the dimensions of the open wall and analysing the existing color palette and design elements. Understanding this context helps in choosing suitable finishing materials that complement your overall design scheme.
Choosing the Right Materials
Several finishing materials can be used, including trim, caulk, and paint. When selecting materials, ensure they are compatible with your backsplash to achieve a seamless look that enhances the kitchen’s style.
Step-by-Step Guide to Ending Your Backsplash
Step 1: Gather Your Tools and Materials
To execute the project efficiently, you’ll need tools such as a measuring tape, level, tile cutter, and adhesive. Also, gather your chosen materials for finishing the edges.
Step 2: Measure and Mark
Carefully measure the area where the end finish will be applied and mark guidelines to ensure a professional appearance. Accurate measurements are vital for a tidy and uniform edge.
Step 3: Cut and Prepare Your Materials
Using the appropriate tools, cut your tiles or finishing materials to fit neatly against the edge. Be sure to prepare the wall surface, removing any debris for optimal adhesion.
Step 4: Installation Techniques
For a clean finish, apply trim or caulk along the edges, making sure that the lines are level and secure. This step is critical in achieving a polished look that stands the test of time.
Step 5: Finishing Touches
Once installed, apply paint or sealant to the finished edge. Clean the area thoroughly and make any final adjustments needed to perfect your work.
Common Mistakes to Avoid
Be aware of frequent installation errors, such as inaccurate measurements or insufficient surface preparation. If you encounter issues, don’t hesitate to troubleshoot and correct the problems before continuing.
Conclusion
Taking the time to properly finish your backsplash on an open wall is an essential aspect of kitchen design.
It not only enhances the beauty of your space but also protects your investment. Embrace the DIY nature of this project, and relish the satisfaction of achieving a cohesive and professional-looking kitchen.
FAQs
What materials work best for finishing a backsplash?
Popular and durable options include metal trim, flexible caulking, and matching paint that aligns with your existing backsplash materials.
Can I install backsplash trim myself?
Yes, many homeowners successfully DIY their backsplash trim installation with careful planning and appropriate tools. Just follow the steps outlined to ensure a smooth process.
How long does the process typically take?
The completion time can vary based on your experience and the complexity of the project, but expect to allocate a few hours to a day to ensure everything is measured, installed, and finished correctly.
By following this guide, you’ll be well-equipped to create a stunning and practical end finish for your backsplash, reflecting your style and enhancing your kitchen’s appeal.


