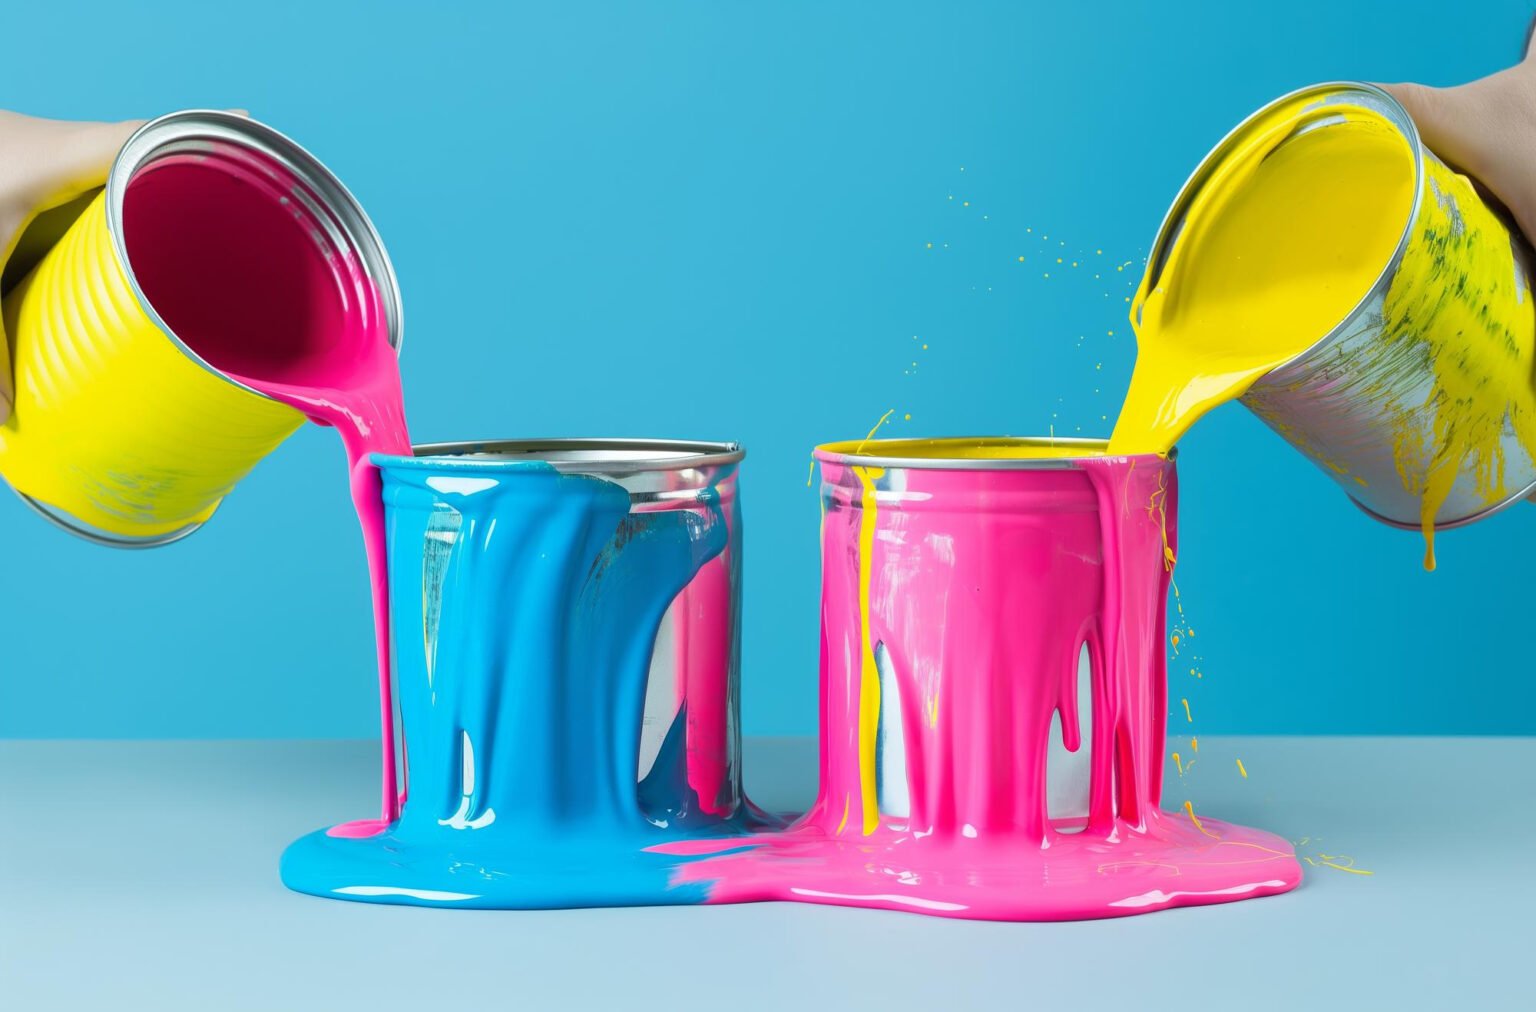
Opening a paint bucket may seem like a simple task, but doing it improperly can lead to frustrating spills and wasted paint.
This guide aims to provide you with the essential steps needed to safely and effectively open a paint bucket.
Understanding the proper techniques will not only make the process easier but will also ensure that you mitigate the risk of accidents in your workspace.
Preparation
Gather Necessary Tools
Before embarking on your painting project, make sure you have the following tools at hand:
- Paint can opener or flathead screwdriver: These are essential for prying open the lid without damaging it.
- Rag or paper towel: Useful for cleaning up any accidental drips or spills.
- Bucket or tray for spills: To catch any paint that might overflow when opening the can.
Safety Precautions
To ensure a safe working environment:
- Proper ventilation: Always work in a well-ventilated area to avoid inhaling harmful fumes.
- Use of gloves: Wearing gloves can protect your skin from potential contact with paint, which may cause irritation.
Step-by-Step Instructions
Step 1: Inspect the Paint Bucket
Begin by examining the paint bucket for any signs of damage or rust. Ensuring the lid is intact will facilitate a smoother opening process.
Step 2: Remove Any External Seals
Many paint buckets come with seals to prevent spills during transportation. Carefully peel or cut away any tape or seals that might be on the lid.
Step 3: Using a Paint Can Opener
The best method to open a paint bucket is by using a paint can opener:
- Position the opener under the lid at a slight angle.
- Work around the edges of the lid, gently prying it open. Take your time to avoid any abrupt movements that could cause paint to spill.
Step 4: Alternative Method with a Screwdriver
If you find yourself without a paint can opener, a flathead screwdriver can be used as an alternative:
- Insert the screwdriver between the lid and the can, taking care not to damage the edge.
- Twist gently to lift the lid free. This method should be approached with caution to prevent bending the lid.
Troubleshooting Common Issues
Stuck Lid
If the lid feels particularly tight, several methods can help:
- Consider warming the lid slightly. This can expand the metal, making it easier to pry open.
- Use a rubber mallet to tap gently around the edges of the lid, which can sometimes loosen the grip.
Spillage Prevention
To avoid spills:
- Tilt the can slightly when opening to control the paint flow.
- Use a rag to catch any drips around the edges as you lift the lid.
Conclusion
Opening a paint bucket properly is crucial for a successful painting experience. By following these steps, you can avoid common pitfalls, ensuring that your project starts smoothly. Always remember to prioritize safety by using the correct tools and working in a ventilated area.
FAQs
What to do if the paint is dried out?
If the paint has dried out, try adding a small amount of paint thinner or solvent to restore its consistency.
How to store leftover paint properly?
Store leftover paint in a cool, dry place with the lid tightly sealed to prevent it from drying out.
Can I reuse the same lid?
Yes, as long as the lid isn’t damaged, it can be reused for future storage of the paint. Just make sure it fits securely to prevent air from entering.
This guide not only covers the essentials of opening a paint bucket but also offers valuable tips to ensure that you are prepared for any challenges that may arise during your painting projects. Happy painting!


